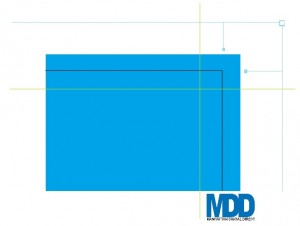
As we all know, a smooth and timely production relies on a well thought out and thorough design. Making sure you have properly prepared the design before sending it to the printer avoids costly mistakes, revisions, and wasted time during printing and finishing.
One way to be sure production maintains the integrity of your original design is to include crops and bleeds to your file.
You will need to add bleeds if your design extends to the edges of the page. Text, color, and images that lie within an unprinted border do not require bleeds.
Bleeds add to the cutter’s cutting zone. The regular tolerances of printing and cutting can impact alignment—some pieces will need more or less trimming than others to match the dimensions of the design. Adding bleeds eliminate any risk of unprinted space between the design and the edge of the page.
You MUST add crops to any file that bleeds in order to know exactly where to cut on the final print. Successful turn-arounds happen when all phases of production are on board every step of the way. If you want to establish a professional relationship between you and your production team, remembering to add crops and bleeds is a good place to start.
Here is a more in depth explanation on crops and bleeds and step-by-step instructions for adding bleeds in InDesign.
Post written by Angela Creed. © Manhattan Digital Direct
