How often do you send cards for any occasion? Once a year? Once a month? Never sent a card ever? Either way, you’re probably reading this because you need a way to make your cards stand out and that’s what we’re going to show you. Make your event invites, holiday cards, business cards, greeting cards, or ANY card special with these print processes and finishings:
Letterpress printing is an old process that uses plates with raised impressions of the artwork. The plates are covered with ink, which are then pressed to the paper to leave a print. The process is very hands-on, which gives each piece its own natural look that stands out in a digital world. Letterpressed work takes time, so save this for when you’re aiming to get personal with your intended audience.

Thermography results in raised text that has a rubbery texture and gives pieces a modern feel. Think of a business card where some parts are raised and shiny. In thermography, slow-drying ink is used on the spots that you want to be raised. Thermographic powder then covers the piece and gets vacuumed up. The powder that sticks to the slow-drying ink gets heated up, melted, and cooled into the final product. It’s best to use thermography on things that shouldn’t bend as the raised, shiny areas can crack when folded.
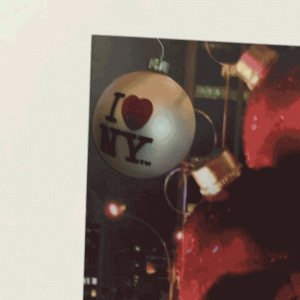
UV is a shiny, glossy coating that’s great for making colors more vibrant. Consider using UV if you’re printing photos so the colors don’t look washed out. Postcards are a perfect example of UV coating bringing out the color in a piece. The UV process is a similar process to thermography, but the reason it’s called UV is that ultraviolet radiation melts the powder quickly. The UV process is fast and can be done in bulk. You can also take advantage of spot UV, which applies UV to specified areas on your work. The end result looks like this:

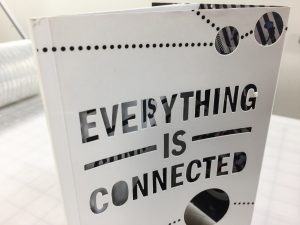
Die cutting is when paper stock is cut into shapes using a die tool. It’s like those paper snowflakes that you used to make, or still make. Die cutting can be used to cut stock into a shape or cut a shape into the middle of the piece. This is good for making themed cards stand out.

Embossing and debossing is when you “stamp” an imprint into your paper stock leaving a raised or lowered area in the shape you so desire. This makes your piece feel official and authentic. Certification seals are an example of this, but you don’t need a seal to make your work feel official. Embossing / debossing looks great without any extras on your stock. It’s a great way to leave an impression!
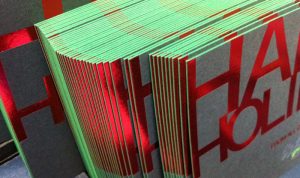
This is exactly what it sounds like - painting the outside edge of your cards with a color. Edge painting highlights your card and brings attention to the whole piece. A thick stock paired with a bright color will give you the maximum effect. You can also take advantage of edge gilding, which uses metallic foil on the edges.

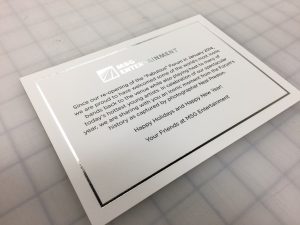
Foil stamping gives you shiny, metallic letters usually in gold or silver. Metallic foil is heated then stamped right onto the card. Use gold or silver foil to give your cards a grand feel. Pair foil stamping with matching metallic edge gilding to REALLY show opulence. There are also holographic foils that have a sleek, futuristic look.

This is NOT a special effect, but it can definitely make your cards special. Kraft paper is a coarse, brown-ish tan stock made from the “kraft” process of turning wood into wood pulp. This results in a strong and durable stock with an “earthy” feel to it. This is much thicker than the kraft paper used for packaging. This kraft paper is the good stuff that’s used for cards and flyers. Use letterpress on kraft paper to get a super wholesome feel.
Get in touch with MDD to find out more about special finishings and processes for your cards! Email us at [email protected] or give us a ring at (646) 507-5280.
Post Written by Keenan Rice
Photos by Keenan Rice, Edge painting photo from Publicide Inc.
© Manhattan Digital Direct
